At Devisubox, customer satisfaction isn’t a goal; it’s a founding principle.
Because we master the entire chain—hardware, software, AI—customer support is naturally at the heart of our approach. It’s a custom, end-to-end process that maximizes your project’s success.
In 2024, our clients gave us a satisfaction score of 4.6/5, a recognition of our daily commitment.
Our support, step by step
The unique feature of our approach is a level of support that begins long before the cameras are installed and continues long after they are removed. Here are the steps:
1. Understanding Your Needs
Every project is unique, with its own technical, strategic, and human challenges. We start with an attentive listening phase to understand your context, your expectations, and the site’s constraints. You send us your documents (site plans, photos, etc.), and we ask the right questions to design a custom solution that aligns with your goals, whether for site monitoring, risk prevention, or communication through our construction videos.
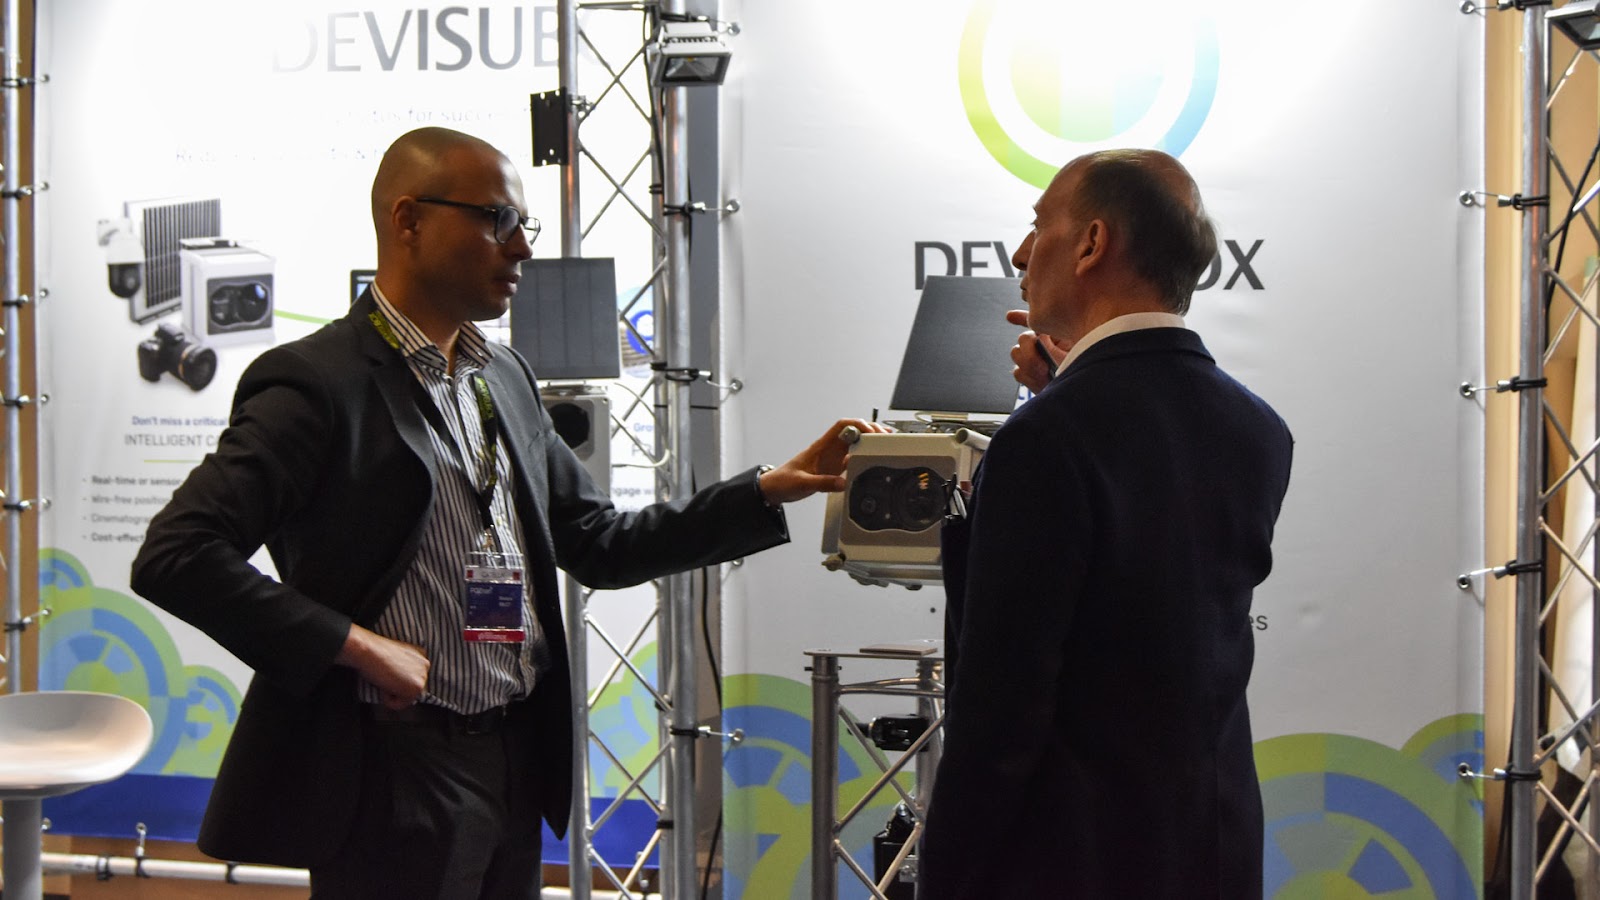
2. Project Proposal and Installation Recommendations
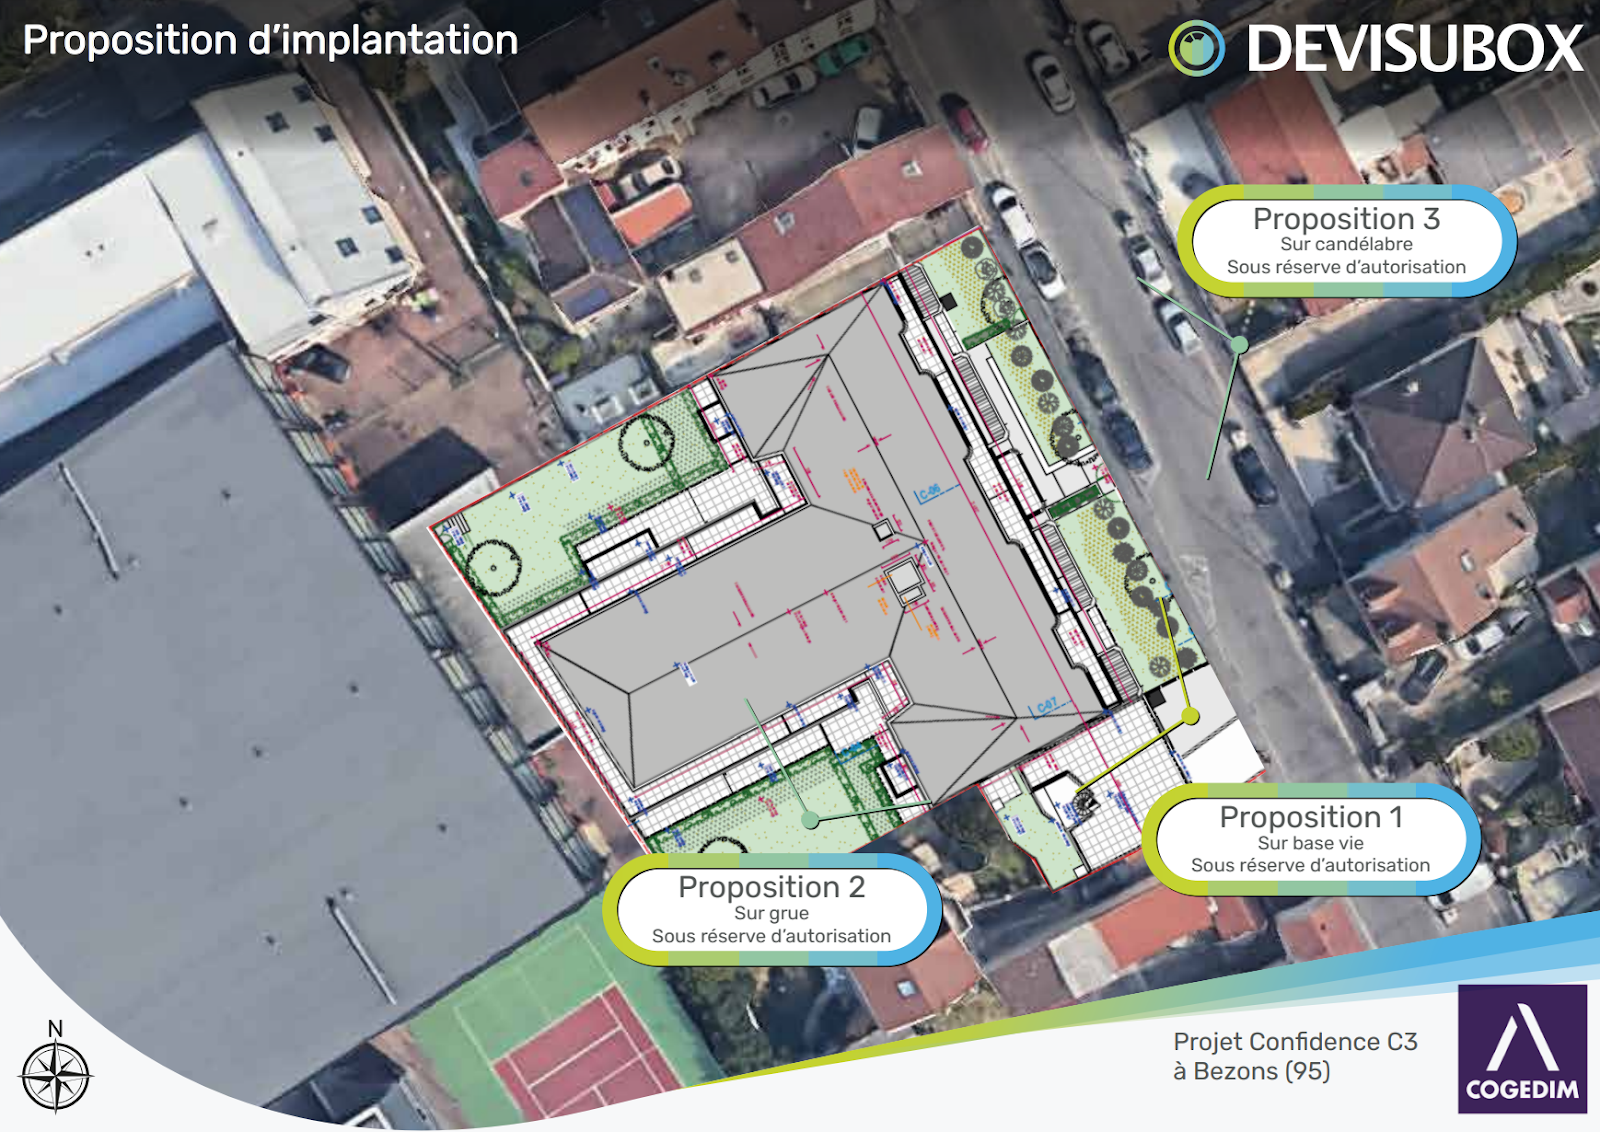
Once your needs are identified, we propose a solution as a basis for discussion. This includes the number and type of cameras, optimal photo frequency, the type of video considered (if any), and most importantly: installation recommendations.
Choosing the right angle and height to install the photo cameras is a crucial step to ensure we meet your needs. That’s why we systematically provide recommendations not just for placement, but also for installation: Devisubox photo cameras are autonomous and can be installed anywhere, thanks to the expertise of our installation technicians and their full range of mounting hardware for any surface.
Once the project is validated, the locations selected, and the quote signed, we kick off the project.
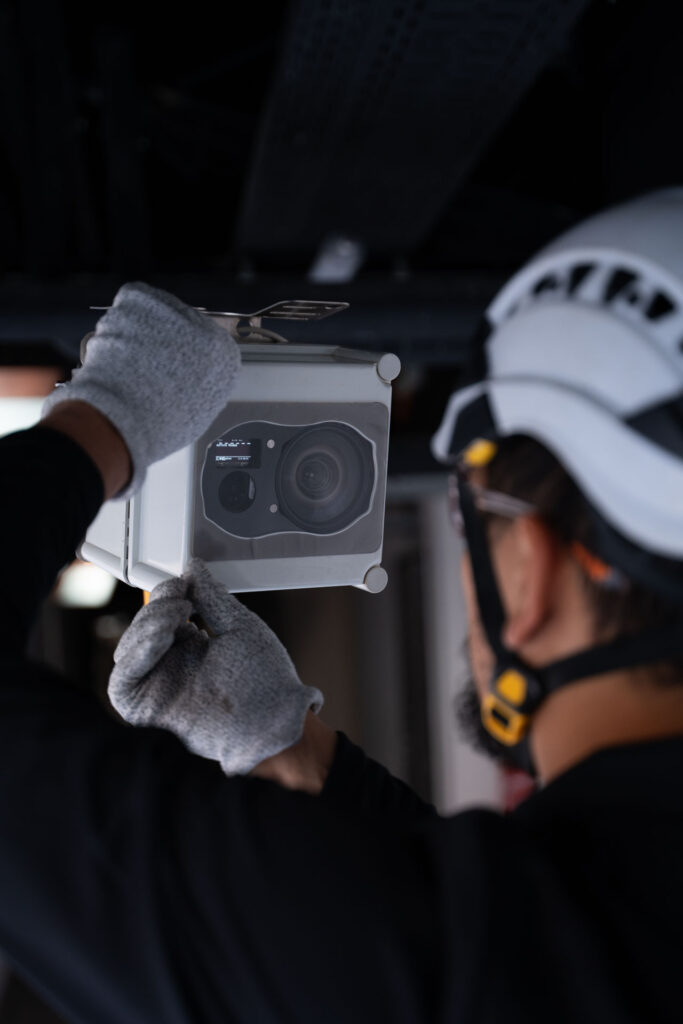
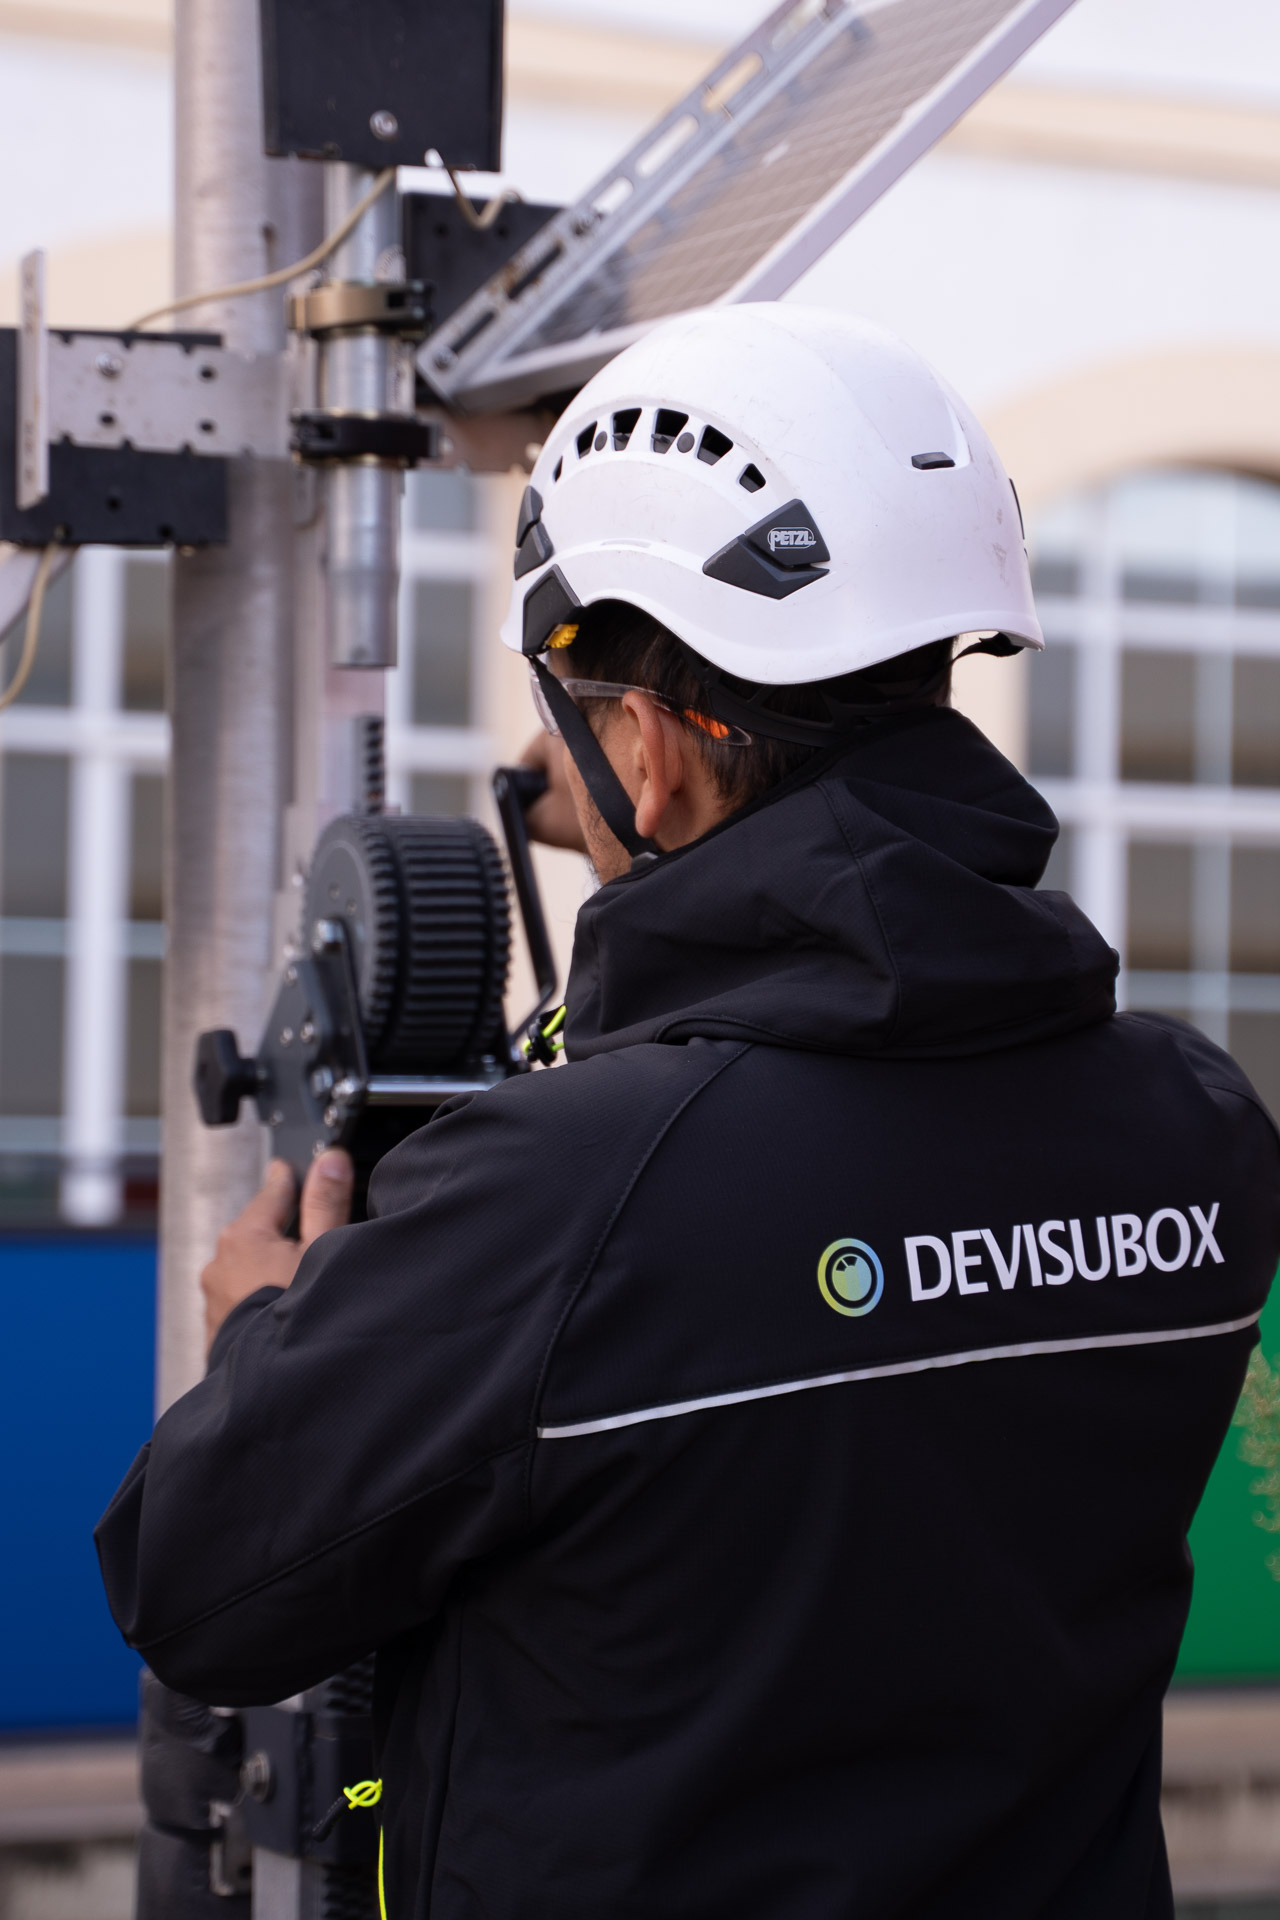
3. Custom Installation
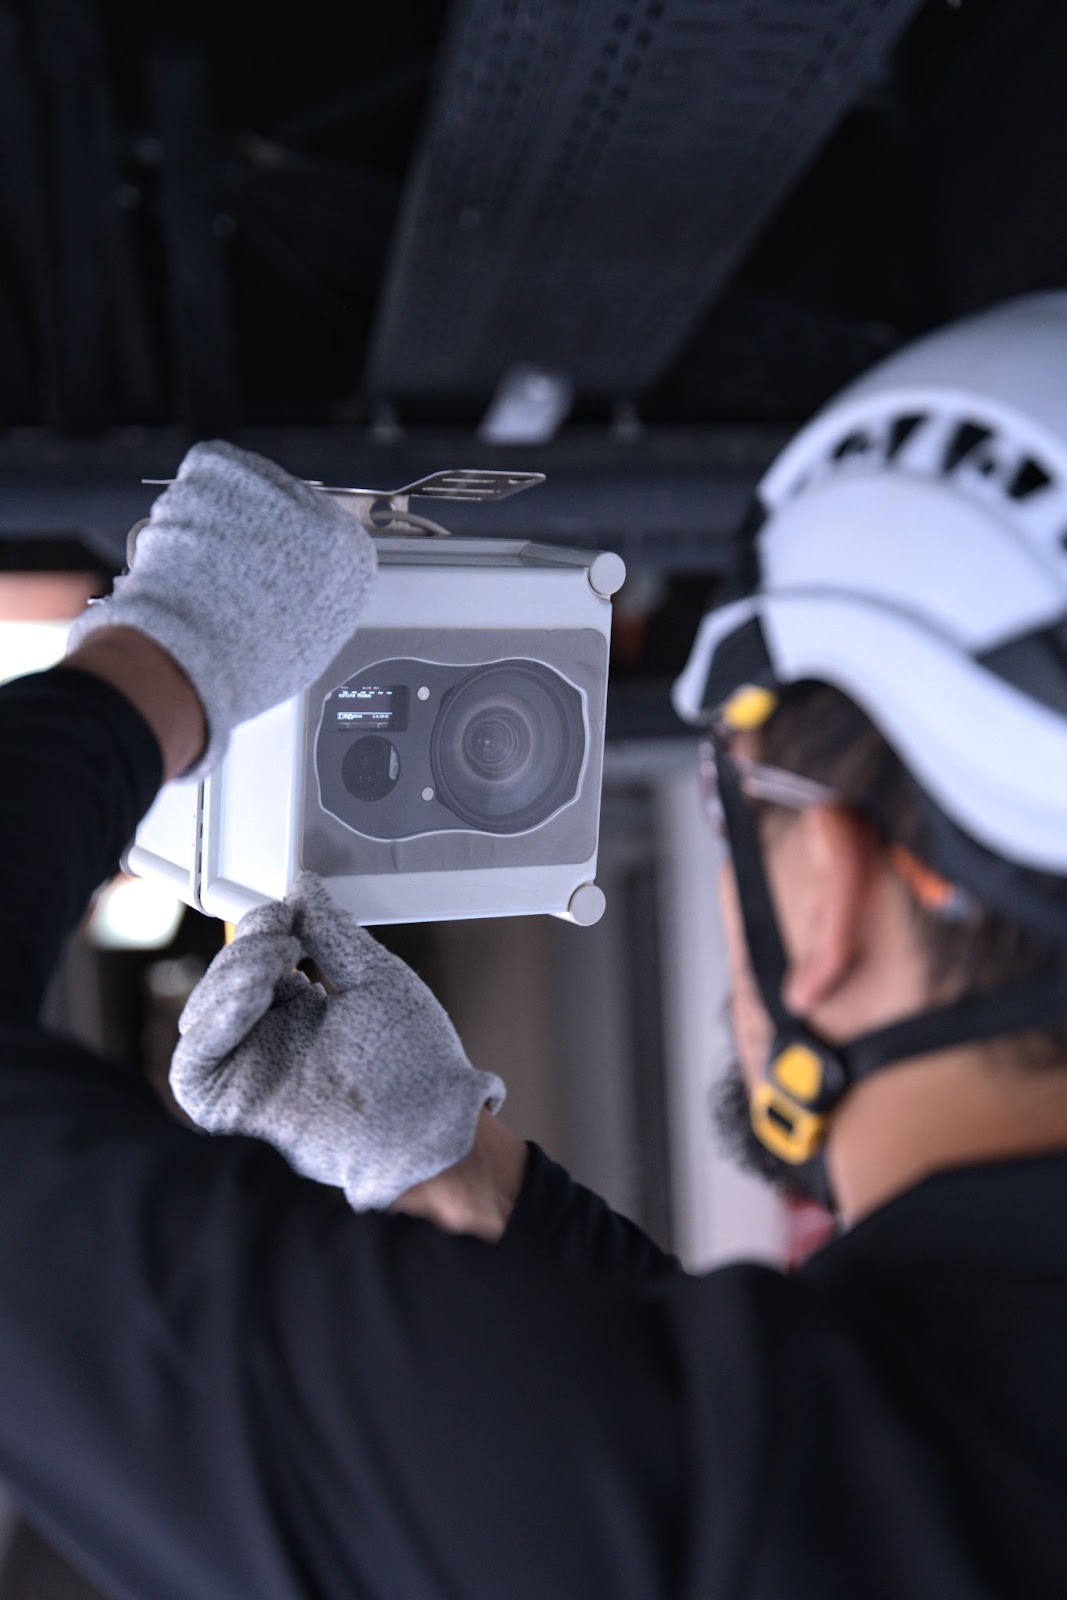
Our technicians travel across the country to install and configure the photo cameras on your sites. They have their own safety equipment to operate in strict compliance with current regulations.
The installation possibilities are numerous and diverse:
- On existing structures (roofs)
- On urban furniture (lampposts)
- On site facilities (site cabins)
- On a freestanding mast
- With relocation during the project (railways, canals, etc.)
- …
Where necessary, we handle prior negotiations for installation on private property or in public spaces. It is extremely rare that an installation cannot proceed because even in problematic situations, our technicians are trained to find effective on-the-ground solutions with the equipment they have.
Once installed, the technicians configure the cameras with their tablets and adjust the angle if necessary.
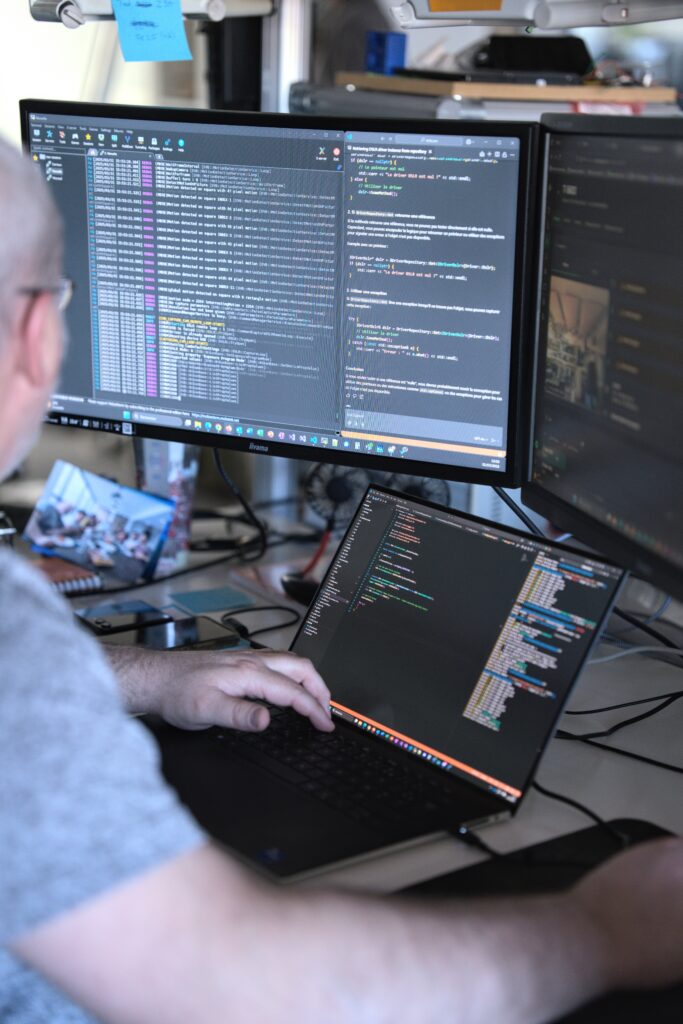
4. Interface Access and Client Training
The cameras are installed, configured, and connected: the first images are sent to our servers. Our “cockpit” team will then contact you to provide your login credentials for our remote monitoring platform.
Upon request, and if the short tutorial isn’t enough, we offer an online training session to get you comfortable with the tool.
5. Changes, Reorientation, Breakdowns, Feature Updates
Unforeseen events happen, especially on long and large-scale projects. You may need to move a camera, reorient it, or add another one: we’ve planned for that!
Simply contact your dedicated Customer Success Manager to make the request. They are your dedicated point of contact at Devisubox.
Want to activate the AI detection options? You’ll also need to request this from your CSM. In general, for any doubt, problem, or question, this is the person you should contact at Devisubox.
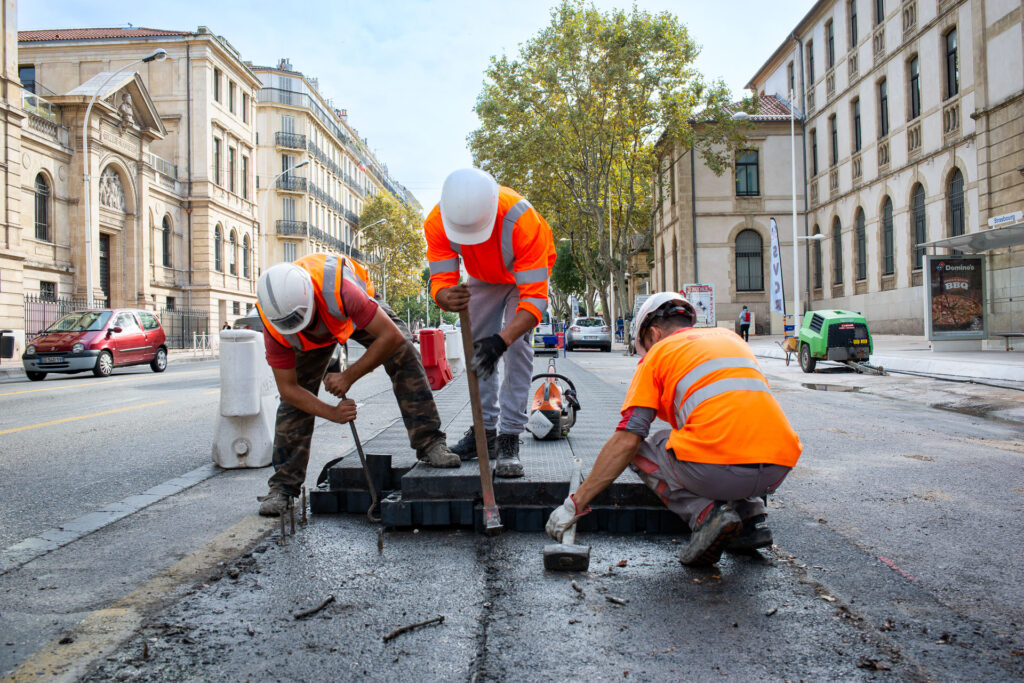
6. Drone Flights, On-site filming, and Burst Mode
We recommend enhancing your timelapse video with aerial or on-the-ground shots. This adds rhythm to the video and allows you to showcase the men and women working on site. These ad-hoc shoots are coordinated by the Studio, which sends our camera operators and drone pilots to the location.
If you want to highlight a specific action during construction, we can remotely activate burst mode: we increase the photo capture rate for the duration of the event. The result? Time slows down in the final video, and the viewer can appreciate the maneuver in the smallest detail.
7. Extension and Removal
We know from experience that projects often last a little longer than planned. That’s why we send you an email a few weeks before the end date to notify you.
This is the time to choose whether you want to extend the contract or have the cameras removed. In the latter case, our technician goes to the site to retrieve the cameras, and—if you requested a video—the SD cards are uploaded to our servers by the Devisubox Studio.
8. Video Production and Delivery
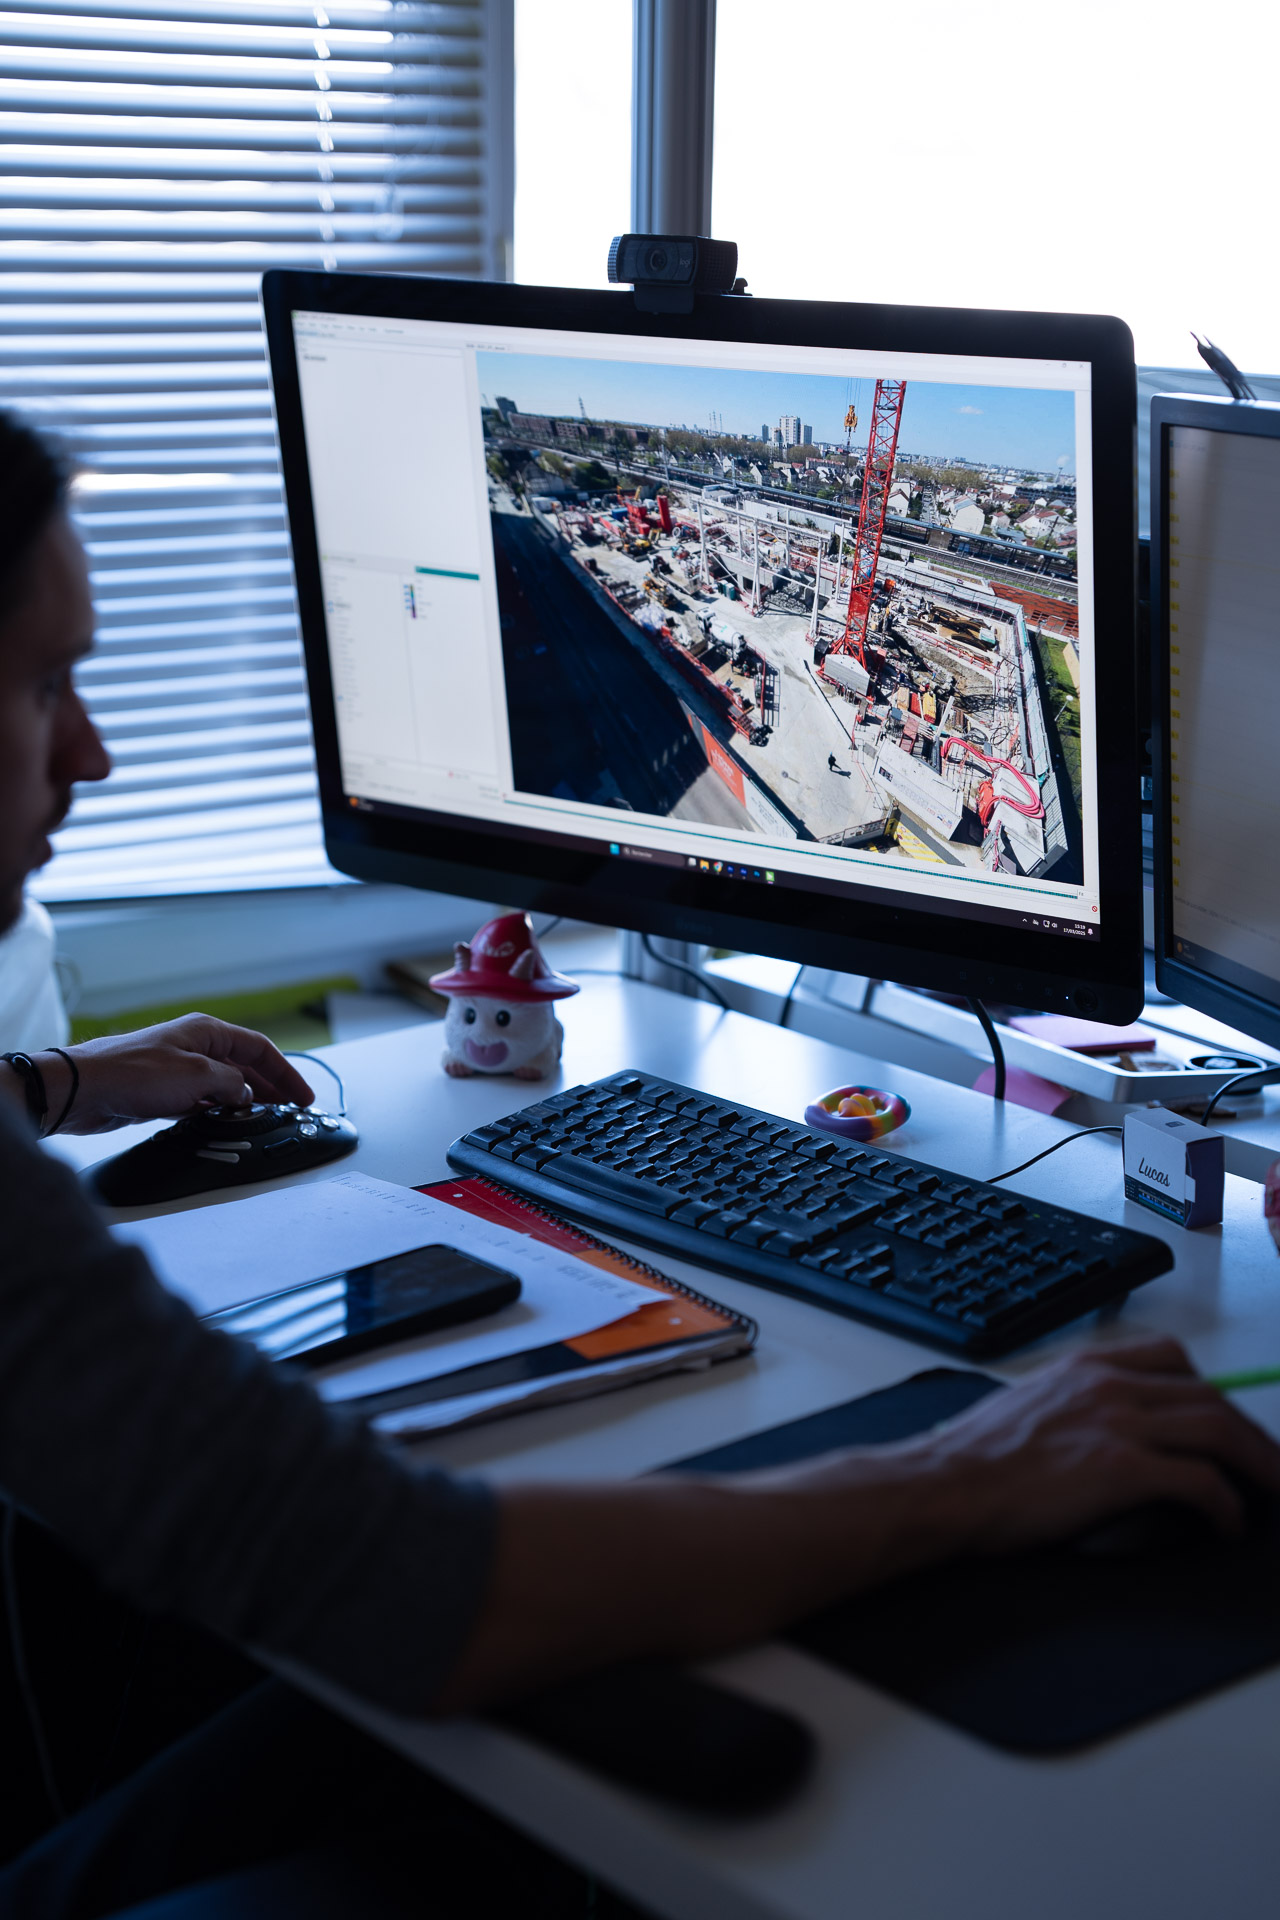
This is where the Devisubox creatives come in! The Studio’s editors and directors sift through tens of thousands of shots from your project to select the best moments.
The editing of your video can then begin, including any aerial shots and on-the-ground reports. If elements are missing or if the brief is unclear, the Studio will contact you to refine your needs.
A first version of the video is delivered to you, and depending on your package, several rounds of feedback are then possible to create the best possible construction video together.
9. End-of-Project Review
Your project is finished, the cameras removed, the video delivered and ready to be shared—it’s officially the end of the project!
Naturally, we are committed to improving because we know that nothing can be 100% perfect. We contact you for a short interview to gather your feedback and suggestions.
For Devisubox, client support is as important as our product development, and that makes all the difference.